Monitoriza tu Raspberry. Controla la temperatura y prestaciones. Con NodeRed en Docker. Crontab y Scripts
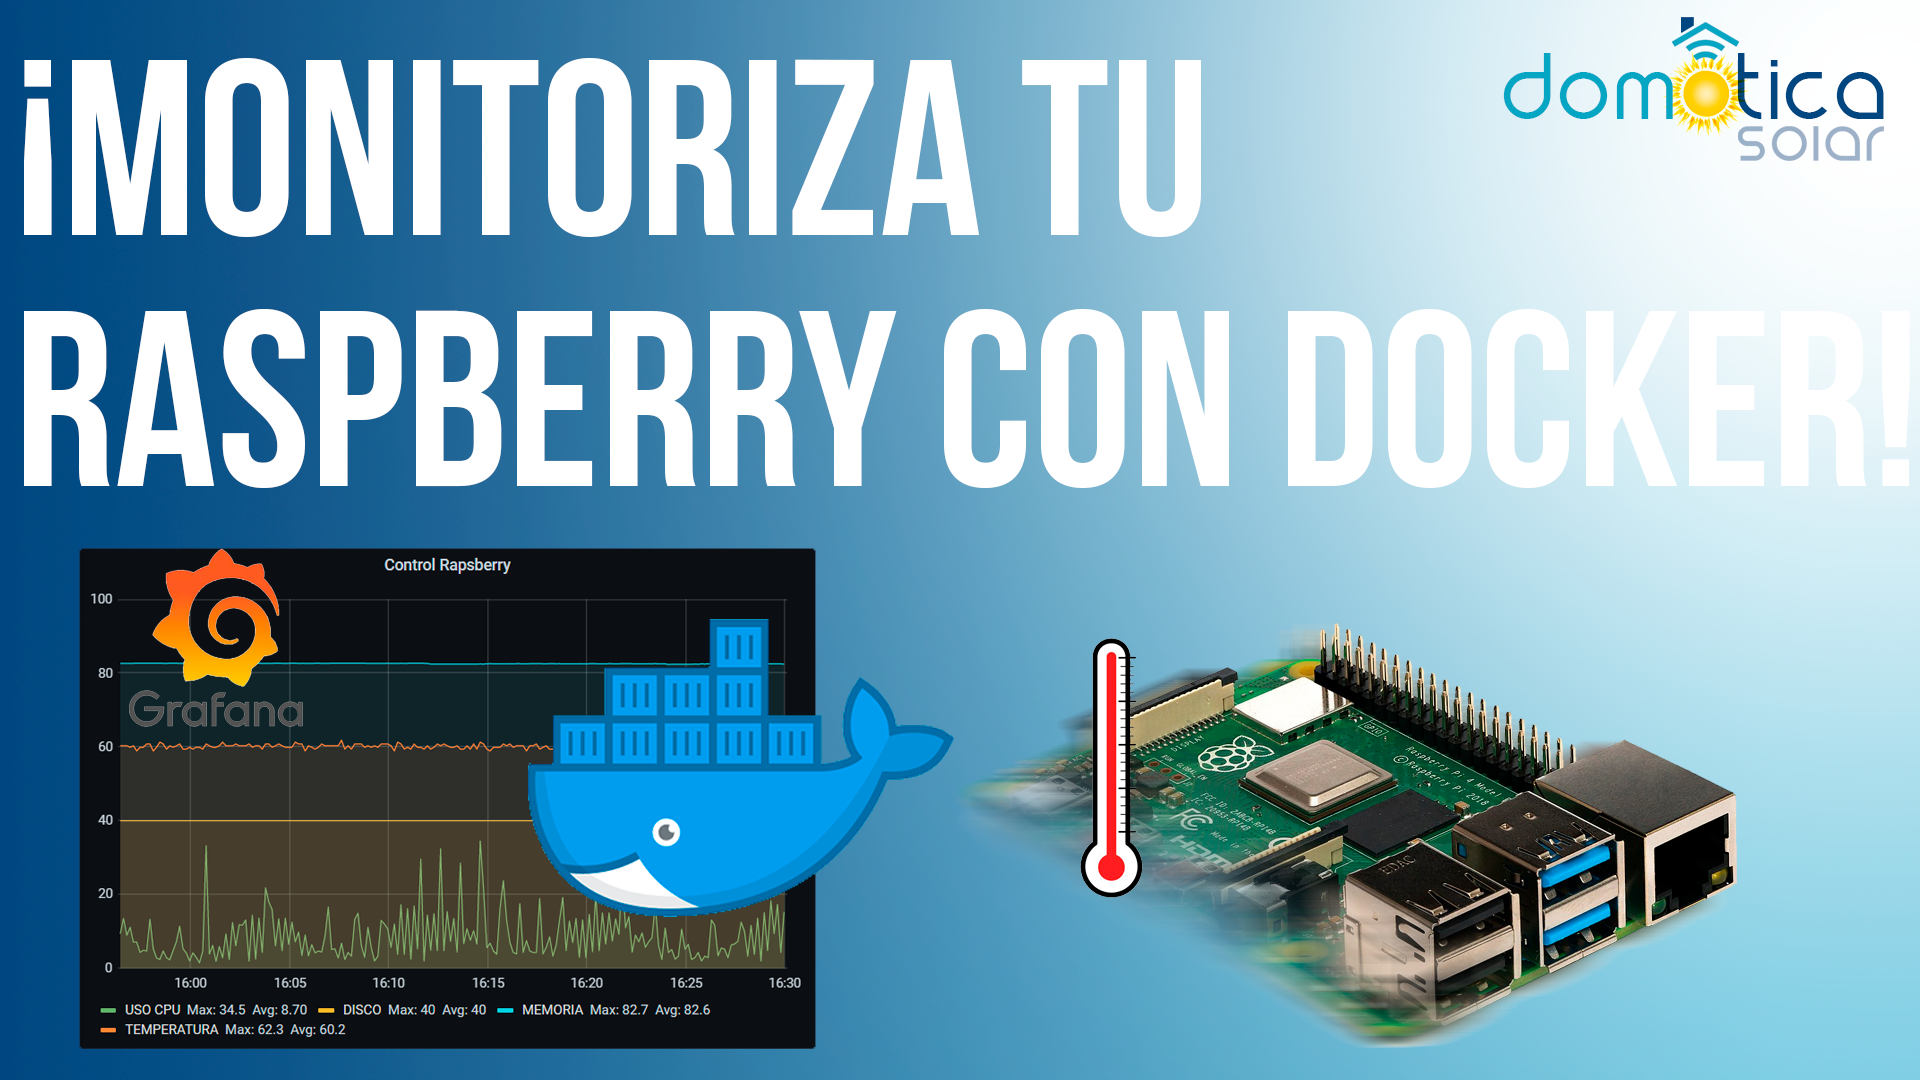
En el capítulo de hoy monitorizamos el estado de nuestra raspberry para que en todo momento sepamos el estado de la misma. Esto nos va a permitir poder controlar todos sus parámetros así como saber cuando debemos ampliar la raspberry o migrar servicios a otras raspberrys. Esto lo hacemos para entornos en los que tengamos NodeRed Dockerizado. Además aprendemos a manejar el programador de tareas en linux crontab y a crear script de shell.
Aquí disponeis del flow de nodered:
[{"id":"e7381735.2007b8","type":"tab","label":"Monitoriza tu raspberry","disabled":false,"info":""},{"id":"cfebdca7.6c8e5","type":"ui_gauge","z":"e7381735.2007b8","name":"","group":"1890881e.83819","order":1,"width":"3","height":"2","gtype":"gage","title":"CPU Temperatura","label":"","format":"{{value}}ยบ","min":"25","max":"90","colors":["#00b500","#e6e600","#ca3838"],"seg1":"50","seg2":"65","x":590,"y":20,"wires":[]},{"id":"9ec34923.919368","type":"ui_gauge","z":"e7381735.2007b8","name":"","group":"1890881e.83819","order":1,"width":"3","height":"2","gtype":"gage","title":"CPU Uso","label":"","format":"{{value}}%","min":"0","max":"100","colors":["#00b500","#e6e600","#ca3838"],"seg1":"40","seg2":"65","x":600,"y":140,"wires":[]},{"id":"18e0c42c.d7cbac","type":"ui_gauge","z":"e7381735.2007b8","name":"","group":"1890881e.83819","order":1,"width":"3","height":"2","gtype":"gage","title":"HDD Uso","label":"","format":"{{value}}%","min":"0","max":"100","colors":["#00b500","#e6e600","#ca3838"],"seg1":"70","seg2":"90","x":600,"y":200,"wires":[]},{"id":"2929f5cf.93eeaa","type":"ui_gauge","z":"e7381735.2007b8","name":"","group":"1890881e.83819","order":1,"width":"3","height":"2","gtype":"gage","title":"RAM","label":"","format":"{{value | number: 0}}%","min":"0","max":"100","colors":["#00b500","#e6e600","#ca3838"],"seg1":"70","seg2":"90","x":590,"y":260,"wires":[]},{"id":"15b9f17f.cc001f","type":"debug","z":"e7381735.2007b8","name":"","active":true,"tosidebar":true,"console":false,"tostatus":false,"complete":"true","targetType":"full","statusVal":"","statusType":"auto","x":550,"y":340,"wires":[]},{"id":"f9ac84ca.1a0768","type":"ui_switch","z":"e7381735.2007b8","name":"","label":"switch","tooltip":"","group":"1890881e.83819","order":4,"width":0,"height":0,"passthru":true,"decouple":"false","topic":"topic","style":"","onvalue":"1","onvalueType":"num","onicon":"","oncolor":"","offvalue":"0","offvalueType":"num","officon":"","offcolor":"","x":570,"y":80,"wires":[[]]},{"id":"3bd877c5.78fb78","type":"join","z":"e7381735.2007b8","name":"","mode":"custom","build":"object","property":"payload","propertyType":"msg","key":"topic","joiner":"\\n","joinerType":"str","accumulate":false,"timeout":"","count":"5","reduceRight":false,"reduceExp":"","reduceInit":"","reduceInitType":"","reduceFixup":"","x":350,"y":320,"wires":[["15b9f17f.cc001f","4e09e1c2.3f1df"]]},{"id":"4e09e1c2.3f1df","type":"influxdb out","z":"e7381735.2007b8","influxdb":"78b0bc61.4e5dc4","name":"Raspberry","measurement":"raspberry_control","precision":"","retentionPolicy":"","database":"database","precisionV18FluxV20":"ms","retentionPolicyV18Flux":"","org":"organisation","bucket":"bucket","x":560,"y":440,"wires":[]},{"id":"8101bd60.5bc2d","type":"mqtt in","z":"e7381735.2007b8","name":"","topic":"/raspberry/#","qos":"2","datatype":"auto","broker":"34d9231c.b4396c","nl":false,"rap":true,"rh":0,"x":90,"y":40,"wires":[["fc82812e.9d30b"]]},{"id":"fc82812e.9d30b","type":"function","z":"e7381735.2007b8","name":"","func":"if (msg.topic==\"/raspberry/temperatura\"){\n msg.payload=parseFloat(msg.payload.substr(5).slice(0,-2));\n}\nif (msg.topic==\"/raspberry/problema_voltaje\"){\n msg.payload=parseInt(msg.payload.substr(-1));\n \n}\nif (msg.topic==\"/raspberry/cpu\"){\n msg.payload=parseFloat(msg.payload);\n \n}\nif (msg.topic==\"/raspberry/disco\"){\n msg.payload=parseFloat(msg.payload);\n \n}\nif (msg.topic==\"/raspberry/ram\"){\n msg.payload=parseFloat(msg.payload);\n \n}\nreturn msg;","outputs":1,"noerr":0,"initialize":"","finalize":"","libs":[],"x":160,"y":160,"wires":[["5f5b7e81.7158b","3bd877c5.78fb78"]]},{"id":"5f5b7e81.7158b","type":"switch","z":"e7381735.2007b8","name":"","property":"topic","propertyType":"msg","rules":[{"t":"eq","v":"/raspberry/temperatura","vt":"str"},{"t":"eq","v":"/raspberry/problema_voltaje ","vt":"str"},{"t":"eq","v":"/raspberry/cpu","vt":"str"},{"t":"eq","v":"/raspberry/disco","vt":"str"},{"t":"eq","v":"/raspberry/ram","vt":"str"}],"checkall":"true","repair":false,"outputs":5,"x":340,"y":160,"wires":[["cfebdca7.6c8e5"],["f9ac84ca.1a0768"],["9ec34923.919368"],["18e0c42c.d7cbac"],["2929f5cf.93eeaa"]]},{"id":"1890881e.83819","type":"ui_group","name":"Col1","tab":"c3173234.2636e","order":1,"disp":false,"width":"12","collapse":false},{"id":"78b0bc61.4e5dc4","type":"influxdb","hostname":"192.168.1.254","port":"8086","protocol":"http","database":"casaluis","name":"influxdb","usetls":false,"tls":"","influxdbVersion":"1.x","url":"http://localhost:8086","rejectUnauthorized":true},{"id":"34d9231c.b4396c","type":"mqtt-broker","name":"raspberry_mqtt","broker":"raspberry.local","port":"1883","clientid":"","usetls":false,"compatmode":false,"protocolVersion":"4","keepalive":"60","cleansession":true,"birthTopic":"","birthQos":"0","birthPayload":"","birthMsg":{},"closeTopic":"","closeQos":"0","closePayload":"","closeMsg":{},"willTopic":"","willQos":"0","willPayload":"","willMsg":{},"sessionExpiry":""},{"id":"c3173234.2636e","type":"ui_tab","name":"RPi Control","icon":"dashboard","order":1,"disabled":false,"hidden":false}]
Aquí tenéis la lista de los componentes necesarios para montar tu propia instalación:
¡También te pueden interesar estos otros vídeos!
Instala el software en la raspberry
Una introducción a NodeRed
Error: Connection refused cuando hago
/usr/bin/vcgencmd measure_temp | mosquitto_pub -h 192.168.1.62 -t «/raspberry/temperatura» -l
Solucionado.